Matomo Tag Manager: set up Google Ads
Use Matomo Tag Manager to manage Matomo and Google Ads in one container. Configure tags, consent and conversion triggers before publishing.
Content checked on 08.11.2026
At a glance
The Matomo tag sends measurements to Matomo; the Google Ads tag sends them to Google. The tag manager determines when each one runs.
In this article
A tag manager brings your website’s tracking code together in a container. You define the tags and the conditions that trigger them. This lets you send page views to Matomo and report a confirmed order as a conversion to Google Ads.
This guide uses Matomo Tag Manager. It requires container editing and publishing permissions, plus access to the conversion settings in Google Ads. In speo, we set up the container with you; your regular Matomo account has view access.
Matomo Tag Manager: check the installation
Check whether Matomo is already installed through a WordPress plugin or directly in the page code, and whether a tag manager is already present. Each page view should trigger one Matomo measurement. When moving tracking into the tag manager, replace the previous integration in a coordinated change.
If you already use Google Tag Manager, you can install Matomo there too. That option is covered at the end of this guide.
Set up page views in Matomo Tag Manager
- Open the intended Matomo Tag Manager container. Check its Matomo Configuration variable: the tracking URL and site ID must identify the website you want to track.
- Check the Matomo Analytics tag, or create it if it is missing. Select the Matomo configuration and choose Pageview as the tracking type.
- Assign a page view trigger to the tag. If your Matomo setup requires consent, that condition must also be respected.
- Add this container’s installation code to your website. Use your website’s actual values, not IDs from an example.
The Google consent settings below control Google tags. Matomo uses its own tracking and consent configuration.
Connect consent to Google tags
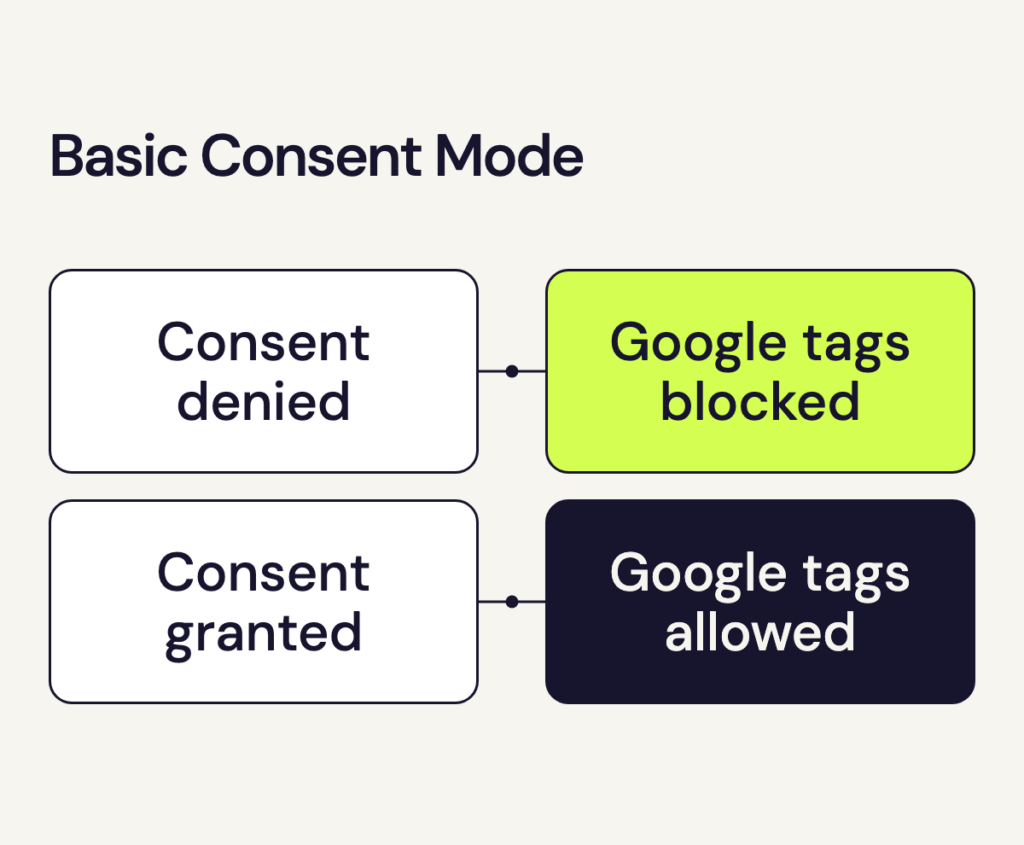
Your cookie banner or consent solution records the visitor’s choice. Google consent mode passes that choice to Google tags. In the basic consent mode setup described here, Google tags remain blocked until the required consent is given.
Set the required initial consent values to denied before any Google tag runs. The Google Consent Mode tag in Matomo Tag Manager can then update them based on the banner choice. A later withdrawal of consent must also update both the consent states and the trigger conditions.
| Signal | What it controls |
|---|---|
ad_storage |
Storage for advertising, such as advertising cookies |
ad_user_data |
Sending user data to Google for advertising purposes |
ad_personalization |
Personalised advertising |
analytics_storage |
Storage for Google analytics, such as analytics cookies |
The denied state alone does not block Google tags: advanced consent mode can still send cookieless requests to Google. For the basic setup, the trigger must therefore require the appropriate consent as well.
Set up the Google tag and Ads conversion
- In Google Ads, create the intended conversion action or open an existing one. Copy its conversion ID and conversion label.
- In Matomo Tag Manager, create a Google Tag with your Google tag ID. Choose a trigger that respects the consent configuration.
- Create a Google Ads: Conversion tag and enter the ID and label from the same conversion action. For purchases, you can pass the order value and currency.
- Fire the conversion tag only after the outcome is confirmed, such as a successful form submission or completed purchase. Your website must send an event to the tag manager to report that outcome. The trigger must also respect the required consent.
For purchases, pass a unique transaction ID. If the same order is reported again, its ID must stay the same. Google can then recognise repeated reports of that conversion action as duplicates.
The Google Ads tag reports the outcome to Google. To analyse it in Matomo as well, configure the corresponding Matomo goal and its trigger.
Test and publish
Open the container’s Preview / Debug mode. Check a normal page view and a complete conversion journey. For each event, the preview shows the tags that ran and the values of the variables.
Also test refusal in the banner: in this basic setup, Google tags must not send data after refusal. After consent, the conversion must fire only when the intended outcome occurs. A form with invalid details must not report a successful enquiry. For a test order, reload the confirmation page as well and check the transaction ID.
Preview tags can already send measurement data. Use an agreed test environment or suitable test actions for these checks. After testing, publish a named container version and check the journey again using the published version.
Install Matomo in an existing Google Tag Manager
In Google Tag Manager, you can add the speo JavaScript tracking code for your website as a Custom HTML tag. Matomo documents this approach for self-hosted installations too. Assign the trigger required by your Matomo configuration and check before publishing that each page view is recorded once.
Continue managing Google tags in the existing container. Their consent settings must also respond to the choice made in the banner.
Sources
- Matomo: Start tracking with Matomo Tag Manager
- Matomo: Track page views with Matomo Tag Manager
- How to configure the Google Tag in Matomo Tag Manager
- How to configure the Google Ads Conversion Tag in Matomo Tag Manager
- Manage Triggers in Matomo Tag Manager
- How to configure the Google Consent Mode Tag in Matomo Tag Manager
- Set up consent mode on websites
- About consent mode
- Preview / debug a container in Matomo Tag Manager
- Publish a new Version in Matomo Tag Manager
- Use a transaction ID to minimise duplicate conversions
- How do I install Matomo tracking in Google Tag Manager (GTM)?